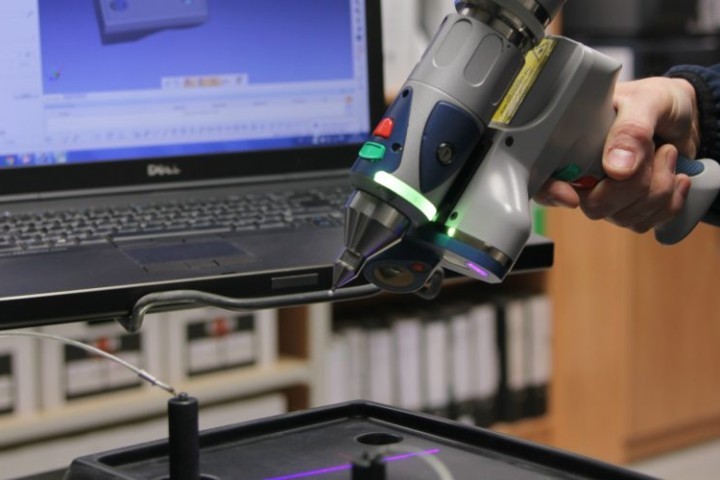
The tool is the most accurate measuring tool in its field, and allows delicate and complex objects to be inspected and reverse engineered at an unparalleled level of detail.
The equipment features a highly accurate blue light probe, which is 50 per cent more precise than a standard red laser.It utilises shorter wavelength to scan in higher resolution, delivering more accurate results and reducing speckle noise.
Its seven-axis movement facilitates both contact and non-contact collection of large amounts of data with maximum accuracy and efficiency.Mark Boardman, quality manager, explained: "The Faro ScanArm is at the forefront of 3D measuring technology and will enable us to do rapid assessment of process improvements and also facilitate reverse engineering and rapid comparisons to CAD.
"The contactless element allows us to work with even the most delicate parts. It greatly improves our inspection and measurement capability of both components and tooling, and has already made a big difference to the turnaround time of projects." Mark added: "We have purchased hundreds of thousands of pounds of brand new, highly advanced machinery over the last couple of years to keep our organisation ahead of the competition. This new measuring arm is a good investment for us, because our customers trust us to deliver cutting-edge capabilities."


